We have a brief set of instructions about the email setup center that will guide you for building your email account in a simple way. And ensure to don't miss it.
Showing posts with label POP3 mail server settings. Show all posts
Showing posts with label POP3 mail server settings. Show all posts
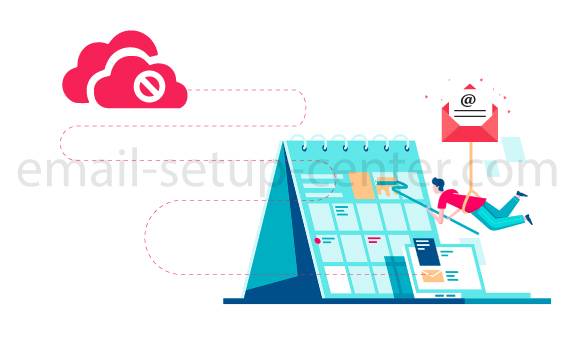
Here is the simple instruction for how to sync the calendar with email in the easiest way. You can also synchronize contacts with your email for secure conversations.
The below-stated instructions will help you how to sync the calendar with email Windows phone.
Navigate to the App menu on your phone and select the Settings option.
Scroll the screen downwards and choose the Email+Accounts option.
Select the Add an Account option followed by the email service provider.
Check if the Email, Contacts, Calendars, and Tasks option are enabled. If not, use the slide bar to enable them.
Your calendar will now be synced to your email account.
And, here you get the more syncing settings like syncing to android and google calendar, Windows calendar, Outlook emails, multiple windows mail simply clicking the read more button.
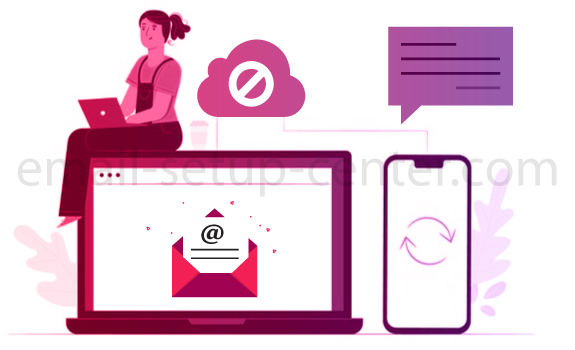
If your email not syncing to your account so, we will clarify why your email not syncing. There are many kinds of reasons behind that let us know all of the error
Step 1:Check if there is any update for your mail app. If yes, then upgrade it and check if the Email error has been resolved.
Step 2:Restart your device in the next step to solve this problem.
Step 3:Also, check if you are connected to the Internet properly. If you have a low speed Internet connection at your place, then the syncing process will take a longer time.
Pop3, IMAP networking technology has many advantages and more security privileges to protect the user info. exchange email server plays a major role in networking. Microsoft Exchange email server that helps to manage your emails. To know more about the Exchange mail server on iPhone, Mac, and Linux, refer to the content provided below.
Server for Exchange Email on iPhone
Exchange Server Archive Emails
Launch the Exchange Management Console window.
Click the Recipient Configuration tab followed by the Mailbox tab at the left panel.
Once you have selected your desired mailbox, right-click it.
Click the Enable Archive option to open the Enable Archive Mailbox window.
Click the radio button next to the Create a local archive or Create a remotely hosted archive option.
If you select the Create a local archive option, make sure to mark the checkbox next to the ‘Select a specific mailbox database rather than having one selected automatically’ option for perform exchange email server.
The last step is to click OK to apply the settings. The Exchange Archive Mailbox is now created.
How to find Server for Exchange Email
Once you launch the main window of the Outlook application on the Windows computer, click the File tab followed by the Info option.
Click Account Settings Account Settings to view the Account Settings window.
Email Server Settings
How to Read Email from Exchange Server?
Read The Email From Server
Open the read Mail – Microsoft Visual Studio window.Click the Solution Explorer button at the right panel of the screen and then select the read Mail option.
Click the Manage NuGet Packages option.Click in the search bar and then type Microsoft Exchange in it.
Navigate to the Microsoft Exchange WebServices option, click the Install button.
Type the appropriate programming code on the main panel.For any clarifications, contact our technical support team.
Linux Email Client Exchange Server
Launch the main interface of the Evolution email client.
Click the Edit tab and then select the Preferences option.
On the next window that appears, navigate to the Mail Accounts tab.
Click the Add button to display the Account window.
Fill the necessary information in the appropriate fields like Full Name and Email Address (for default account), Reply-to-address, and Organization.
Click the Forward button to view the Receiving Email window. Select the Exchange MAPI option from the Server Type drop-down menu.
Type the Exchange email server address in the Server field.
After filling the Username and Domain Name fields, click the Authenticate button.
Now, click Forward to proceed.
The Receiving Options window will be displayed on the screen.In the Checking for new mail section, you will see the following options, namely, Check for new messages (time) and Check for new messages in all folders.
Select the checkboxes next to both the options mentioned above.
Also, select options based on your requirement in the Options section.
Click the Forward button to open the next window.
After entering the account name in the appropriate field, click the Forward button followed by the Apply button.
If you want more information’s please click the below link